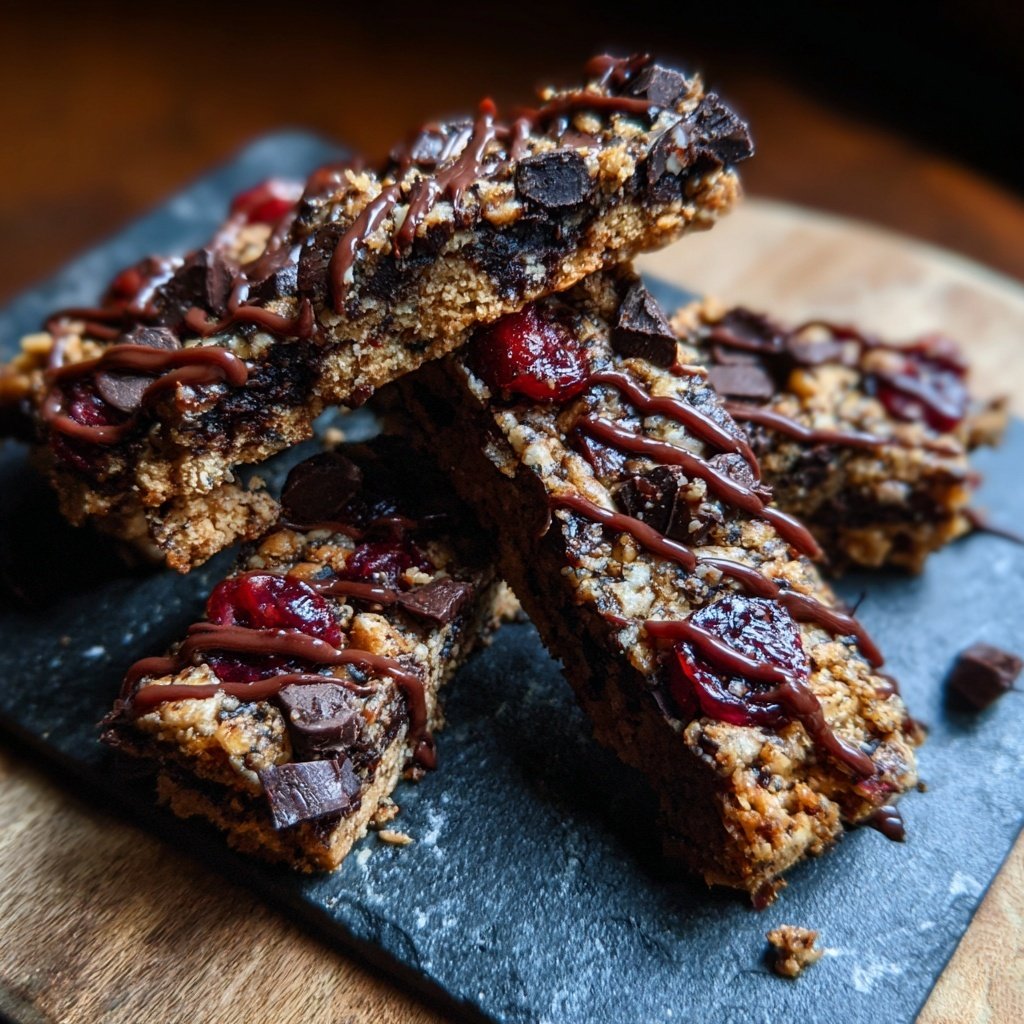
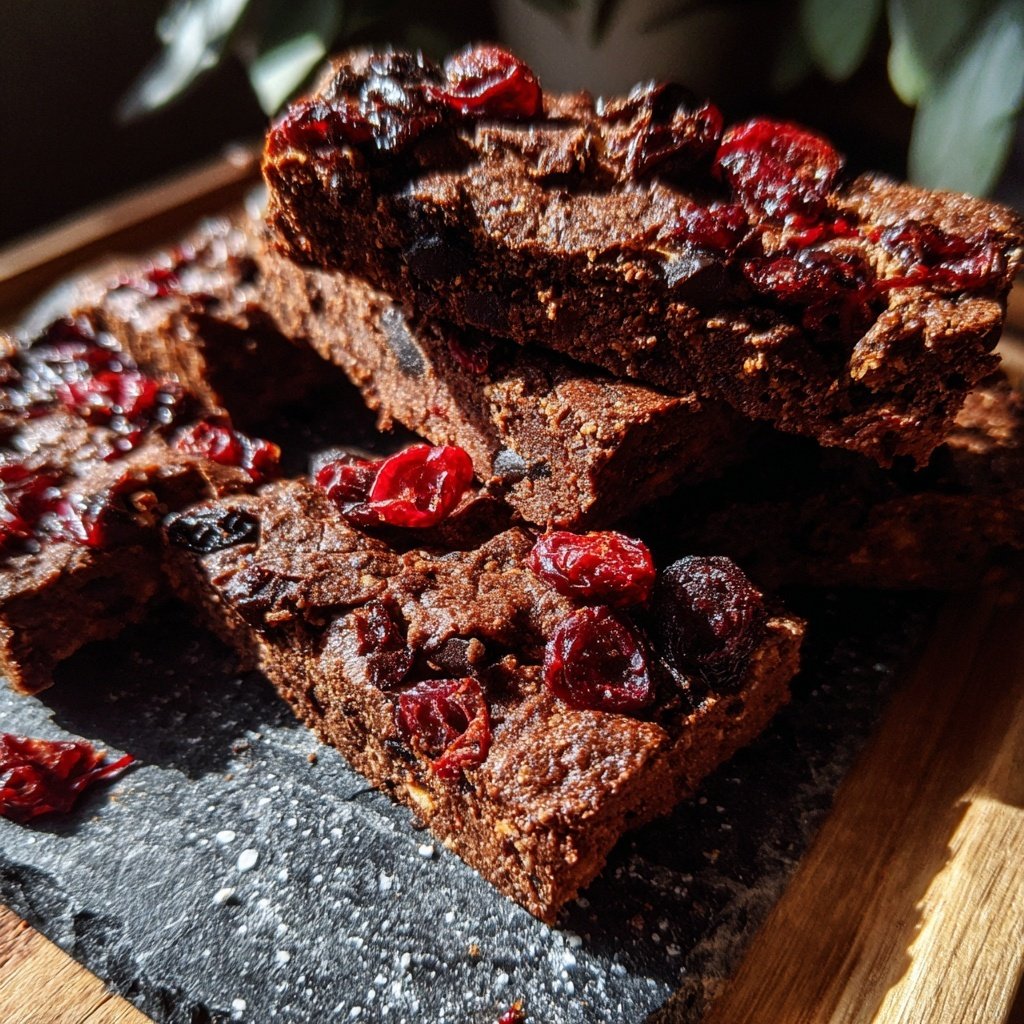
Chocolate Cherry Snack Bars
Highlighted under: Oven Cooking
I love whipping up these Chocolate Cherry Snack Bars for a quick and delicious treat. The combination of rich chocolate and tangy cherries makes for a perfect afternoon snack or a sweet pick-me-up any time of day. Simple to prepare, these bars are not only satisfying but also pack a nutritious punch with the added benefits of cherries. I can’t resist their chewy texture and pleasant sweetness, and I’m excited to share this delightful recipe with you!
Creating these Chocolate Cherry Snack Bars has been a delightful experiment in my kitchen, especially with the delicious tartness of the cherries complementing the chocolate. I remember the first time I tried this recipe, the bars came out perfectly chewy and packed with flavor. It truly was a hit!
I found that the key to achieving the right texture is to not overbake them; keeping an eye on the timer is crucial. I also love adding a sprinkle of sea salt on top before baking to enhance the flavors. Give it a try, and you’ll see what I mean!
Why You'll Love These Bars
- Decadent chocolate flavor balanced with tart cherry sweetness
- Chewy texture that satisfies any sweet tooth
- Quick and easy to make—perfect for busy days
Understanding the Ingredients
The key to the unique flavor profile of these Chocolate Cherry Snack Bars is the combination of almond flour and rolled oats. Almond flour adds a subtle nuttiness and moistness, while rolled oats provide a hearty texture, making each bite satisfying. Additionally, using rolled oats instead of quick oats helps maintain a chewy consistency instead of a mushy one. This balance ensures that the bars are not only delicious but also provide lasting energy throughout your day.
Cherries contribute not only to the flavor but also to the nutritional value. They are rich in antioxidants and vitamins that help combat inflammation and support overall health. When choosing dried cherries, look for unsweetened varieties to avoid excessive sugar, allowing the natural tartness to shine through and beautifully balance the rich chocolate flavor.
Baking Tips for Success
Baking the bars requires careful attention to timing. Aim for a baking time of about 25 minutes; you'll know they are done when the edges are slightly firm and the center appears set but still slightly soft. Overbaking can lead to a dry snack, so keep an eye on them during the last few minutes, and if necessary, a toothpick test can help ensure they're not overdone—look for crumb adherence rather than wet batter.
If you're looking to customize these bars, consider experimenting with different add-ins. Nuts, seeds, or even other dried fruits can easily replace cherries for variations that suit your taste. Just make sure to maintain the balance of dry to wet ingredients to keep the texture consistent. For example, if you substitute a larger fruit piece, you may need to adjust your wet ingredients slightly to maintain the right consistency.
Ingredients
Gather these simple ingredients before you start:
Ingredients
- 1 cup rolled oats
- 1/2 cup almond flour
- 1/3 cup honey or maple syrup
- 1/4 cup cocoa powder
- 1/2 cup dried cherries, chopped
- 1/2 cup dark chocolate chips
- 1/4 cup coconut oil, melted
- 1/2 teaspoon vanilla extract
- 1/4 teaspoon salt
Make sure to measure your ingredients accurately for the best results.
Instructions
Follow these steps to make your Chocolate Cherry Snack Bars:
Preheat and Prepare
Preheat your oven to 350°F (175°C) and line an 8x8 inch baking dish with parchment paper.
Mix Dry Ingredients
In a large bowl, combine rolled oats, almond flour, cocoa powder, and salt. Stir until well mixed.
Add Wet Ingredients
In another bowl, mix together honey (or maple syrup), melted coconut oil, and vanilla extract. Pour this mixture into the dry ingredients and mix until well combined.
Incorporate Cherries and Chocolate
Fold in the chopped dried cherries and dark chocolate chips until distributed evenly.
Bake the Bars
Pour the mixture into the prepared baking dish, press down firmly, and bake for 25 minutes, or until the edges are slightly firm.
Cool and Slice
Allow the bars to cool in the dish for at least 10 minutes before lifting them out with the parchment paper and cutting into squares or rectangles.
Enjoy your homemade bars as a snack or dessert!
Pro Tips
- For an extra touch, try sprinkling some chopped nuts or seeds on top before baking. This adds a delightful crunch!
Make-Ahead and Storage
These Chocolate Cherry Snack Bars are perfect for meal prep! Once cooled, you can wrap them individually in parchment paper and store them in an airtight container for up to one week. They also freeze well, so if you want to double the batch, place separated bars in a freezer-safe bag. They can be stored in the freezer for up to three months. To enjoy, simply take them out a few hours before you want to eat them, or you can thaw them in the microwave for a quick fix.
If you find that the bars are a bit crumbly when stored, try adding a tablespoon of extra honey or maple syrup to the recipe. This additional moisture can help bind the ingredients together and keep your bars chewy even after storing.
Serving Suggestions
These bars make an excellent on-the-go breakfast or a satisfying post-workout snack. Pair one with a dollop of Greek yogurt or a smear of almond butter for added creaminess and protein. If you're serving them at a gathering, consider embellishing them with a light drizzle of melted dark chocolate or a sprinkle of sea salt for extra flair and flavor.
Another trick is to crumble these snack bars over a bowl of fresh fruit or yogurt parfaits. This not only adds texture but also enhances the overall flavor profile with layers of chocolate and cherry. They can also serve as a fun dessert alternative, especially when garnished with a few fresh cherries on top.
Questions About Recipes
→ Can I use fresh cherries instead of dried?
Fresh cherries will add moisture, which could alter the texture, but you can chop and mix them in if you adjust the baking time.
→ How should I store these bars?
Store them in an airtight container at room temperature for up to a week or in the refrigerator for longer freshness.
→ Can I make these bars vegan?
Yes! Use maple syrup instead of honey and make sure your chocolate chips are dairy-free.
→ What can I substitute for almond flour?
You can use all-purpose flour or oat flour, but adjust the quantity as needed for the right consistency.
Chocolate Cherry Snack Bars
What You'll Need
Ingredients
- 1 cup rolled oats
- 1/2 cup almond flour
- 1/3 cup honey or maple syrup
- 1/4 cup cocoa powder
- 1/2 cup dried cherries, chopped
- 1/2 cup dark chocolate chips
- 1/4 cup coconut oil, melted
- 1/2 teaspoon vanilla extract
- 1/4 teaspoon salt
How-To Steps
Preheat your oven to 350°F (175°C) and line an 8x8 inch baking dish with parchment paper.
In a large bowl, combine rolled oats, almond flour, cocoa powder, and salt. Stir until well mixed.
In another bowl, mix together honey (or maple syrup), melted coconut oil, and vanilla extract. Pour this mixture into the dry ingredients and mix until well combined.
Fold in the chopped dried cherries and dark chocolate chips until distributed evenly.
Pour the mixture into the prepared baking dish, press down firmly, and bake for 25 minutes, or until the edges are slightly firm.
Allow the bars to cool in the dish for at least 10 minutes before lifting them out with the parchment paper and cutting into squares or rectangles.
Extra Tips
- For an extra touch, try sprinkling some chopped nuts or seeds on top before baking. This adds a delightful crunch!
Nutritional Breakdown (Per Serving)
- Calories: 220 kcal
- Total Fat: 9g
- Saturated Fat: 4g
- Cholesterol: 0mg
- Sodium: 50mg
- Total Carbohydrates: 32g
- Dietary Fiber: 3g
- Sugars: 14g
- Protein: 4g